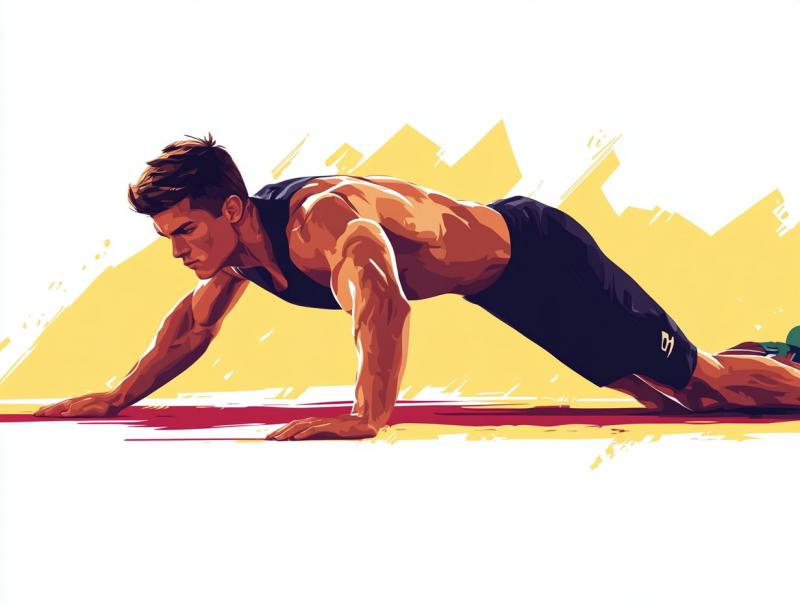
Yoga is known to increase flexibility and balance. However, you can perform yoga for heart and brain as well. Try these poses.
One of the best things you can do for your heart and brain is to get on the mat for some yoga. Regular practice of yoga can help you manage your stress, which can lower your risk of heart disease and helps your body work to its full potential. Yoga for the heart and brain can also help you enhance your physical, mental, and emotional well-being, all of which contribute to a healthier heart.
What’s more? Yoga can also help your muscles get stronger and bigger. Health Shots spoke to Akhil Gore, yoga instructor, lifestyle coach, and founder of Routein Yoga, who listed down some of the best yoga poses for heart and brain health.
Yoga for the heart and brain
“Yoga is a holistic approach to regulating your lifestyle in a better manner. While performing asanas and pranayama, you can keep your mental and physical health in check. When it comes to specific asanas which can keep your heart and brain strong, one should follow the sequence of heart-opening asanas,” says Gore.
5 asanas to keep your heart and brain strong:
1. Bitilasana (Cow pose)
Here’s how to do it:
- Begin while coming into the table-top posture by placing your palms and knees on the mat. Check your palm and shoulder. They should be in a straight line.
- Press the palm firmly onto the mat while spreading the fingers apart.
- Inhale and arch your back while lifting your chin and sternum up and broadening your shoulders.
- Now make a hunch on your back to find more movement in the mid and upper back.
- Return to a neutral spine to release the stance.
2. Bhujangasana (Cobra Pose)
Here’s how to do it:
- Begin by lying down on your stomach with your toes flat on the floor, soles facing upwards, and resting your forehead on the ground.
- Keep your toes close together and heel apart and stretch your toes to the back.
- Place both hands in such a way that their palms are touching the ground under your shoulders. Elbows should be parallel.
- Taking a deep breath in, slowly lift your head, chest, and abdomen up while keeping your navel on the floor.
- Pull your torso back while using the support of your hands. Make sure you’re applying the same amount of pressure on both palms.
- Keep breathing with awareness as you curve your spine, vertebra by vertebra. If possible, straighten your arms by arching your back as much as possible; tilt your head back and look up.
3. Setu Bandha asana (Bridge Pose)
Here’s how to do it:
- Begin by lying on your back. Bend your knees and place your feet on the mat while maintaining the distance of hip width apart.
- As you inhale, try to catch your ankles or interlock your fingers. Now lift your chest up and pull your chest to your chin.
- Squeeze your buttocks to maintain a lift through your hips and keep your legs in a parallel position.
- As you strengthen your body in this stance, take slow, deep breaths. Do not cross your toes with your knees.
- Hold the position for 1-2 minutes and then exhale to release.
4. Ushtrasana (Camel Pose)
Here’s how to do it:
- Begin by lying down with the help of your back. Place your arms by your sides with your palms facing down.
- As you inhale, place your palms on your buttocks and keep pushing your buttocks ahead while making an arch in your back.
- Squeeze your buttocks to feel engagement in your core. Slowly place both palms on your heels.
- Maintain an easy breath as you strengthen your body in this pose.
- Hold the position for 1-2 minutes and then exhale to release.
5. Adho-Mukha-svanasana
Here’s how to do it:
- Begin with table-top posture. Place your palm on the mat while spreading your fingers apart. Your palm and shoulder should be in one straight line with your knee and hip joint.
- Place your palm firmly on the mat and tuck your toes in. While shifting weight on your palm, keep pressing the palm against the mat to elevate your hip higher.
- Straighten your elbows and shoulders and tilt your head slightly to gaze at your navel.
- Both your arms should be parallel to your shoulders and your heels should be touching the mat.
- Hold the posture for five breaths and release the breath to come out of the posture.

